HOMER Grid 1.9

![]()
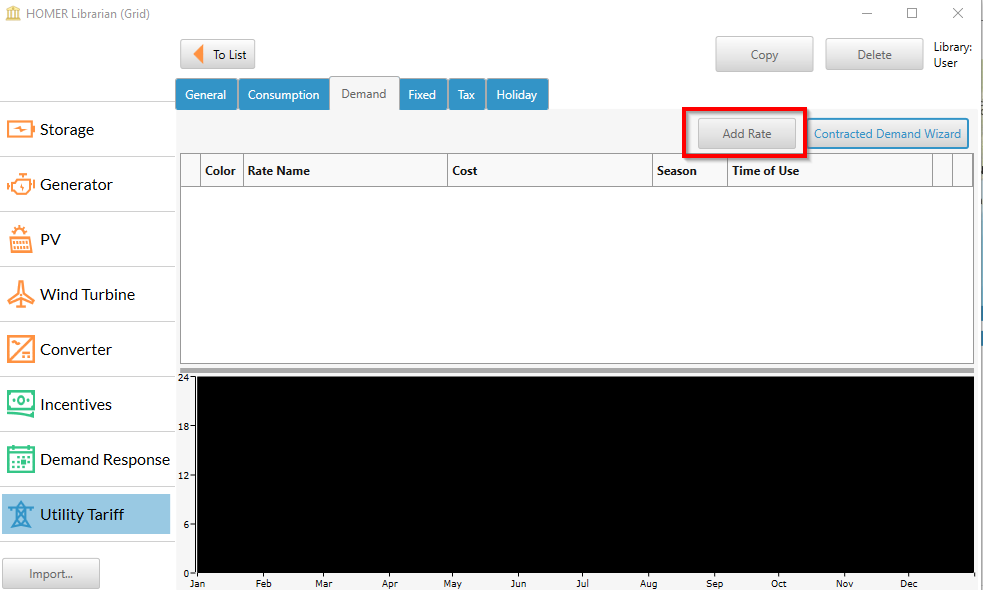
You can add multiple demand charges to your tariff. Click on the Add Rate button on the right corner under the Demand tab.
For more information about each of the tabs provided in the Demand Rate pop-up, click on a link below.
•Cost
General Tab
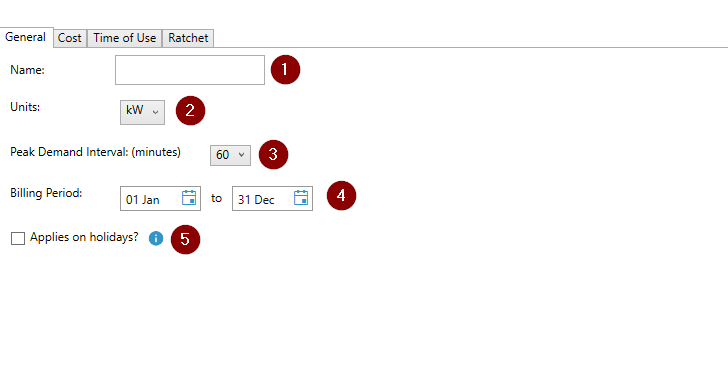
1: Enter the name of the demand rate
2: Choose the units of the demand rate. The choices are: kW, kVA, and kVAR.
3. Select the interval over which the utility calculates the peak demand. The options are 15-, 30- or 60-minute peak demand intervals.
Note: If you are using a higher resolution load (for example, 15 minute interval data), but have kept the peak demand interval to 60 minutes, HOMER will average the load over 60 minutes to determine the peak. If you select a peak demand interval to be sub-hourly, use load data which has the same time-step length.
4. If this rate applies to a certain time of year, change the start and end dates accordingly. The end date is included in the specified period.
5. Specify if this rate applies on holidays. If this is checked, it would mean that this rate would be applied to any grid purchases during the holidays. To add all the public holidays in your region, go to the Add Holidays Section.
Cost Tab
The default demand rate is a monthly demand rate. This means that a new peak demand is calculated every month, and that is the amount for which the customer gets charged. If this demand rate considers a ratchet peak, then go to the Ratchet tab.
•Flat demand rate - If it is a constant rate ($/kW) select the "Cost ($/kW)" box and enter the price.
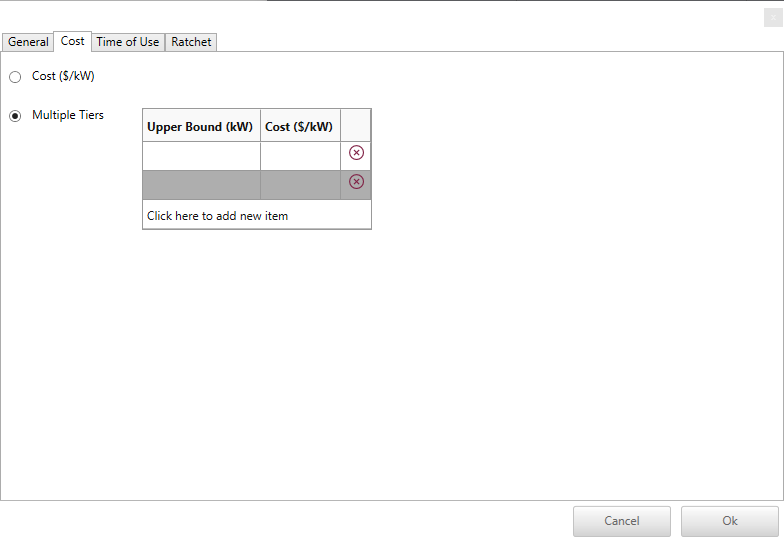
•If it is a tiered energy rate, check the “Multiple Tiers” box. A table will be displayed for you to enter the tier upper bounds in kW and costs in $/kWh. For example, the table below has the following tiers: up to 50kW, the rate is $5 per kW, between 50 and 100 kW the rate is $10 per kW, and any demand above 100 kW would be charged $20 per kW. If a customer required 300 kW of power at some point during the billing period, then the cost would be (50 kW * 5 $/kW) + (100 kW * 10 $/kW) + (150 kW * 20 $/kW) = $4250.
Time of Use
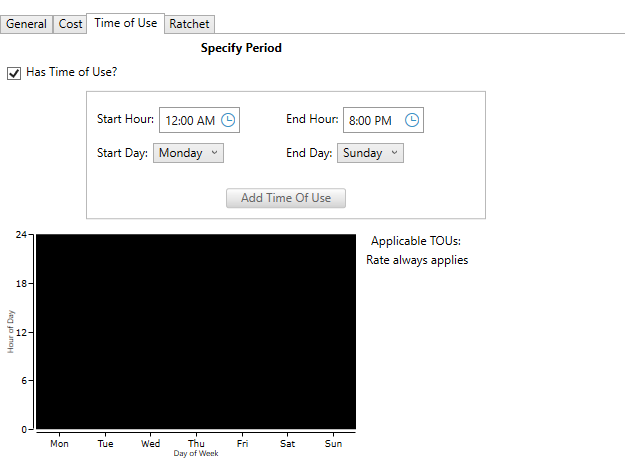
If this rate has a Time of Use, go to the Time of Use tab and check the box named “Has Time of Use?”. Specify a time range and day of week range. You can specify multiple ranges by clicking the “Add a Time of Use” button as necessary.
.
Ratchet
a. If your ratchet rate does not have a Time of Use, select Seasonal Ratchet. Specify the period over which the peak demand is calculated and the ratchet as a percent of the peak demand for the ratchet period. You can also check the box to choose the monthly demand or the ratchet, whichever is greater.

The example above shows a summer ratchet, where the peak is calculated from the months of May 1st - Aug 31st. This peak is applied for the whole year. So every month, irrespective of what the monthly peak demand is, the customer is charged based on the ratchet peak.
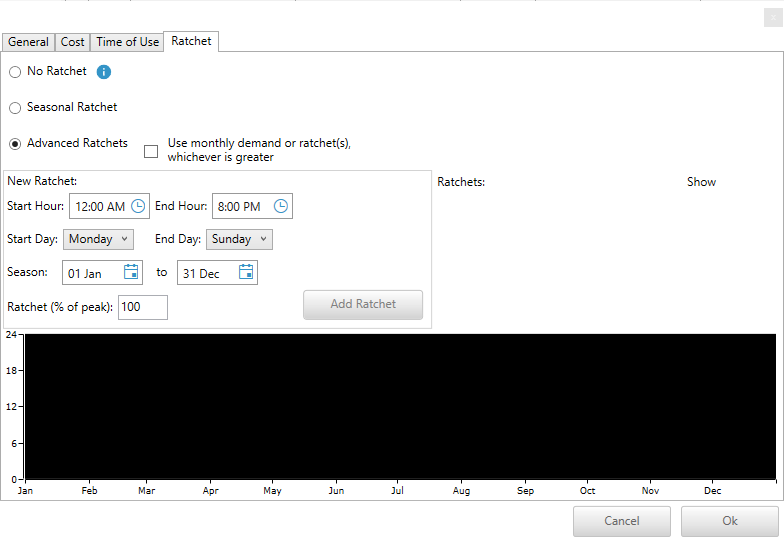
b. If your ratchet has a Time of Use or there are multiple ratchets, select Advanced Ratchets. For each ratchet you add, you can set a period and choose the monthly demand checkbox as in Seasonal Ratchet, as well as set time and day-of-week ranges. The highest demand for all ratchets (or monthly demand, if checked) will be used.
